In this friendly and engaging article, you will be introduced to the beginner’s guide of creating stunning string bracelets. With detailed tutorials that are perfect for beginners, you will learn step-by-step instructions on how to craft beautiful and unique string bracelets. Whether you’re new to the world of jewelry making or looking to expand your skills, these beginner-friendly tutorials will guide you through the process with ease and provide you with the confidence to create your very own personalized string bracelets. Get ready to discover the joy of crafting and express your creativity through these intricate yet accessible projects.

This image is property of images.unsplash.com.
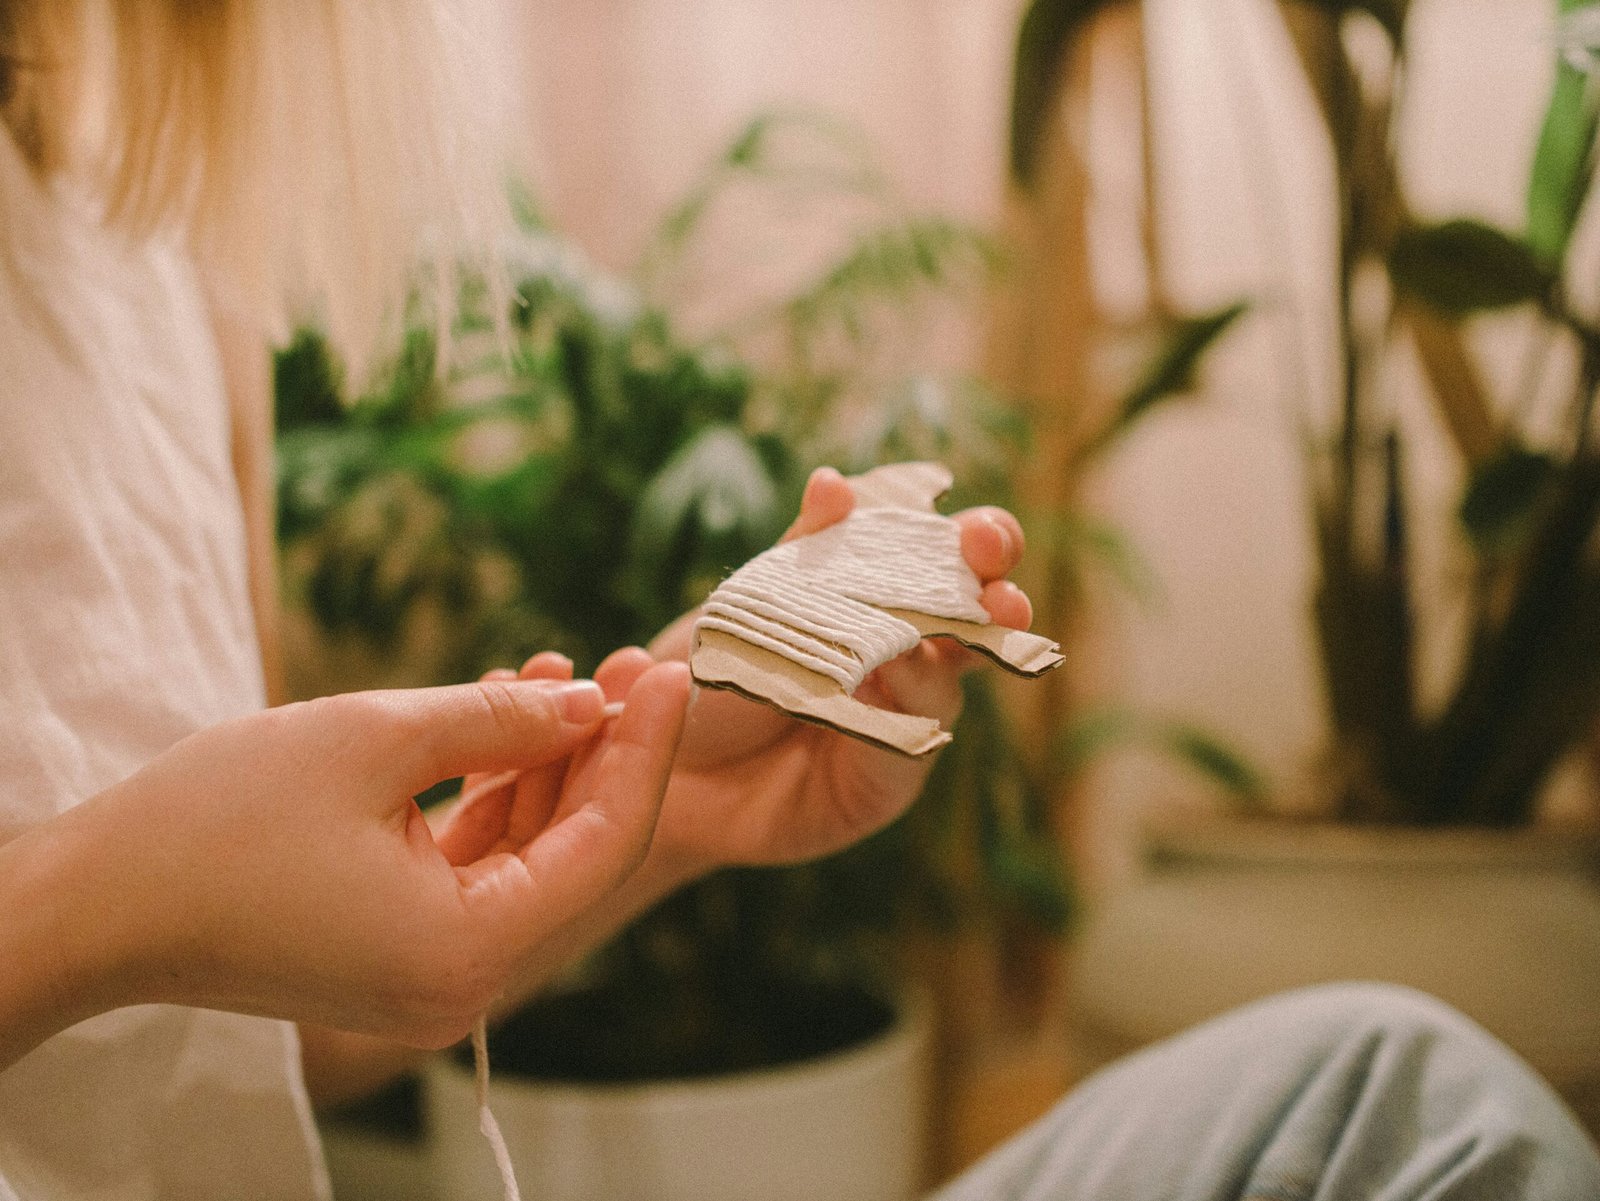
Choosing Materials
When it comes to creating string bracelets, one of the first decisions you’ll need to make is the type of string you want to use. There are several options to choose from, each with its own unique characteristics.
Types of strings
- Nylon: This is a popular choice for beginners due to its durability and flexibility. Nylon cord is available in various thicknesses and can be easily found in craft stores.
- Polyester: Polyester thread is another commonly used material for string bracelets. It is strong and resistant to fading, making it suitable for long-lasting jewelry.
- Cotton: Cotton thread is a softer option that gives a more natural and organic feel to the bracelet. It is available in different colors and types, such as embroidery floss or crochet thread.
- Hemp: For those looking for a more rustic and environmentally friendly option, hemp cord is an excellent choice. It can be found in various thicknesses and is known for its strength and durability.
Types of beads
Once you’ve chosen your string material, it’s time to consider what type of beads you want to incorporate into your bracelet design. Beads come in a wide array of sizes, shapes, colors, and materials, allowing for endless possibilities.
- Seed beads: These tiny beads are perfect for creating delicate and intricate designs. They come in various sizes, and their small holes require the use of a needle during the stringing process.
- Glass beads: Glass beads are a popular choice due to their wide range of colors, finishes, and textures. They add a touch of elegance to any bracelet design.
- Wooden beads: If you’re going for a more natural and rustic look, wooden beads are a great option. They come in different shapes and sizes, and their earthy tones add warmth to your jewelry.
- Gemstone beads: Gemstone beads are known for their beauty and unique properties. They come in a variety of colors and can add a touch of luxury to your bracelet design.
- Metal beads: Metal beads, such as silver or gold-plated beads, can bring a touch of sophistication to your bracelet. They are available in different shapes and finishes, allowing for versatile designs.
Types of closures
Choosing the right closure is essential to ensure the bracelet stays securely on your wrist. Here are some popular types of closures for string bracelets:
- Lobster clasp: Lobster clasps are easy to use and provide a secure closure. They have a small spring-loaded lever that opens and closes the clasp.
- Toggle clasp: Toggle clasps consist of a bar and a ring, where the bar gets inserted through the ring to secure the bracelet. They are both functional and decorative.
- Sliding knot: Sliding knots are perfect for adjustable bracelets. They consist of two knots that slide along the string, allowing you to easily adjust the size of the bracelet.
- Button and loop closure: This type of closure involves sewing a button onto one end of the bracelet and creating a loop on the other end to secure it. It adds a stylish touch to your bracelet design.
- Magnetic clasp: Magnetic clasps are convenient to use and provide a strong closure. However, they may not be suitable for bracelets that need to withstand a lot of pulling or tension.
Basic Tools and Techniques
Before diving into bracelet-making, it’s important to gather the necessary tools and familiarize yourself with some basic knotting techniques.
Tools required
- Scissors: A pair of sharp scissors will be necessary for cutting the string and trimming any excess.
- Beading needle: If you plan on using seed beads, a beading needle will help you thread them onto the string.
- Beading mat or tray: This will prevent beads from rolling away and keep your work area organized.
- Jewelry pliers: Pliers will come in handy when attaching closures or manipulating jump rings.
- Clipboard or tape: To secure your bracelet while working, you can use a clipboard or tape to hold one end of the string.
Basic knotting techniques
- Square knot: The square knot is one of the most basic and versatile knotting techniques. To create a square knot, cross the left string over the right string, then cross the right string over the left string. Continue alternating the starting string for each knot.
- Double knot: The double knot is similar to the square knot but provides extra security. Simply tie two square knots in succession.
- Lark’s head knot: The lark’s head knot is used to attach beads or charms to your bracelet. Fold the string in half, pass the folded end through the bead or charm, then pull the loose ends through the folded end, forming a loop. Tighten the loop around the bead or charm to secure it in place.
- Overhand knot: The overhand knot is a simple and easy-to-make knot. It is used to secure the ends of your bracelet or to create spaces between beads.
Adding beads
To add beads to your string bracelet, follow these steps:
- String a bead: Slide a bead onto one end of the string.
- Create a stopper knot: Tie an overhand knot near the end of the string to prevent the bead from sliding off.
- Continue adding beads: Slide more beads onto the string, tying a stopper knot after each one to secure it in place.
- Complete the bracelet: When you have added all the desired beads, tie the ends of the string together using a clasp or closure of your choice.

This image is property of images.unsplash.com.
Simple Patterns for Beginners
Once you have mastered the basic techniques, it’s time to start creating beautiful string bracelets. Here are three simple patterns to get you started:
Single string bracelet
The single string bracelet is the easiest pattern for beginners. You will only need a single string and your chosen beads.
- Cut a length of string: Measure your wrist and add a few inches to determine the length of the string.
- Attach the closure: If using a closure, attach it to one end of the string.
- Add beads: Slide the desired beads onto the string, leaving a small gap at each end.
- Tie a knot: After adding all the beads, tie a secure knot at the end to keep them in place.
- Trim excess string: Trim any excess string, making sure to leave enough length for adjusting the bracelet if needed.
Double string bracelet
The double string bracelet adds a bit of complexity by using two parallel strings instead of one.
- Cut two lengths of string: Measure your wrist and double that length for the two strings.
- Attach the closure: If using a closure, attach it to one end of both strings.
- Add beads: Slide the desired beads onto both strings simultaneously, creating a mirrored pattern.
- Tie knots: After adding all the beads, tie secure knots at each end to keep them in place.
- Trim excess string: Trim any excess string, leaving enough length for adjusting the bracelet if needed.
Braided bracelet
The braided bracelet adds texture and visual interest to your design by incorporating braiding techniques.
- Cut three lengths of string: Measure your wrist and triple that length for the three strings.
- Attach the closure: If using a closure, attach it to one end of the three strings.
- Create a braid: Divide the three strings into three groups and start braiding them together. Continue braiding until you reach the desired length.
- Add beads: Slide beads onto one or more of the strings before continuing the braid. This will create a patterned effect.
- Tie knots: After reaching the desired length, tie secure knots at each end of the bracelet.
- Trim excess string: Trim any excess string, leaving enough length for adjusting the bracelet if needed.
Adding Variations and Charms
Once you feel comfortable with the basic patterns, you can start adding variations and charms to create more personalized and unique string bracelets.
Using different colors
Experimenting with different colors is a simple way to add variation to your bracelets. You can create patterns using different colored beads, or even use different colored strings for an eye-catching effect. Consider the color scheme you want to achieve and choose complementary or contrasting colors accordingly.
Incorporating charms
Charms are a great way to add a personal touch or a specific theme to your bracelet. They can represent interests, hobbies, or be chosen simply for their aesthetic appeal. Attach charms using the lark’s head knot technique or by sliding them onto the string before tying knots.
Mixing materials
Mixing different materials, such as combining wooden and glass beads or using a combination of strings, can add depth and visual interest to your bracelets. Don’t be afraid to experiment and mix and match different textures and finishes for a unique look.

This image is property of images.unsplash.com.
Design Inspiration and Ideas
If you’re in need of design inspiration, here are a few ideas to spark your creativity:
Incorporating letters and words
Consider adding letter beads or charms to spell out names, initials, or meaningful words. This adds a personal touch and can make the bracelet a cherished keepsake or gift.
Creating geometric patterns
Geometric patterns can create a bold and modern look. Experiment with different shapes and arrange them in patterns such as stripes, triangles, or chevrons.
Nature-inspired designs
Taking inspiration from nature can result in beautiful and organic designs. Use colors and patterns found in flowers, leaves, or the ocean to create unique and eye-catching bracelets.
Understanding Bracelet Sizes
To ensure a proper fit for your string bracelets, it’s important to understand bracelet sizes and how to measure your wrist.
Measuring wrist size
To measure your wrist size, wrap a measuring tape or piece of string around your wrist at the narrowest point. Make sure it’s snug but not too tight. If you’re using a string, mark the spot where it overlaps and then measure the length with a ruler.
Adjusting bracelet length
When creating a bracelet, add an extra inch or two to the measured wrist size. This allows for comfortable movement and ensures the bracelet won’t be too tight. If using an adjustable closure, you can always tighten or loosen it as needed.
Using adjustable closures
Adjustable closures, such as sliding knots or extender chains, allow for a customizable fit. Sliding knots can be easily adjusted by pulling the loose ends of the string, while extender chains provide additional length options.
Bracelet Care and Maintenance
To keep your string bracelets looking their best, it’s important to properly care for and maintain them.
Cleaning techniques
To clean your bracelets, gently scrub them with mild soap and water using a soft brush. Be careful not to tangle or stretch the strings. Rinse with clean water and pat dry using a soft cloth. Avoid using harsh chemicals or abrasive cleaners, as they can damage the strings or beads.
Avoiding water damage
While some string materials are more water-resistant than others, it’s generally best to avoid exposing your bracelets to excessive water. Remove them before swimming, showering, or participating in activities that may cause them to become wet.
Storing and organizing
When not wearing your bracelets, store them in a cool, dry place to prevent damage. Consider using a jewelry box, organizer, or a designated bracelet holder to keep them neatly organized and tangle-free.
Troubleshooting Common Issues
Despite your best efforts, you may encounter a few common issues while making string bracelets. Here’s how to troubleshoot them:
Knots coming undone
To prevent knots from coming undone, make sure to tie them tightly. You can also add a small amount of craft glue or clear nail polish to the knot to secure it further. Alternatively, consider using a stronger type of knot, such as a surgeon’s knot or a square knot with double loops.
Beads falling off
If beads are sliding off the string, make sure you’re tying secure knots after each bead. You can also add smaller spacer beads on either side of larger beads to help keep them in place. If using thinner string, consider using a beading needle or a needle with a larger eye to facilitate stringing.
String fraying
To prevent string fraying, apply clear nail polish or a fabric glue to the end of the string, then let it dry. This creates a protective barrier that helps keep the string intact. When cutting the string, use sharp scissors to ensure clean cuts.
Turning Bracelet Making into a Business
If you enjoy making string bracelets and want to turn it into a business, here are some steps to get started:
Selling handmade bracelets
Consider selling your bracelets at local craft fairs, markets, or through online platforms such as Etsy or social media. Take high-quality product photos, accurately describe your bracelets, and set reasonable prices that account for the cost of materials and your time.
Creating an online presence
Build an online presence by creating a website or blog to showcase your bracelets and connect with potential customers. Utilize social media platforms to share your creations, engage with your audience, and attract followers.
Pricing and packaging
Research similar products to determine a fair and competitive price for your bracelets. Consider packaging your bracelets in an appealing and professional manner, using custom labels or tags to enhance the overall presentation. Including care instructions and a personal note can add a thoughtful touch.
Advanced Bracelet-Making Techniques
Once you’ve mastered the basic techniques and want to challenge yourself, here are some advanced bracelet-making techniques to explore:
Macramé knots
Macramé involves using various knotting techniques to create intricate patterns and designs. Learn different macramé knots such as the square knot, half-hitch, and spiral knot to create stunning and unique bracelet designs.
Adding clasps and chains
Expand your repertoire by incorporating clasps and chains into your bracelet designs. Attach lobster clasps, toggle clasps, or chain extender components to add versatility and elegance to your creations.
Incorporating multiple strings
Advanced bracelet-making often involves working with multiple strings. Experiment with braiding, weaving, or knotting multiple strings together to create intricate and visually compelling designs.
With these comprehensive guidelines and tutorials, you’re well-equipped to embark on your string bracelet-making journey. Enjoy the process of creating beautiful and personalized bracelets that reflect your creativity and personal style. Whether you’re making them for yourself, as gifts, or even starting a business, string bracelets provide endless possibilities for expressing your individuality. Happy crafting!